Green Coffee Utopia!
All has been quiet on the posting front here this week... not for lack of activity, but because the projects currently in the works are neither quick nor particularly pretty when photographed!
My husband is an artisanal coffee roaster, and we have been in a flurry of activity recently while getting his new warehouse/roasting space/shop space ready for opening. His mad carpentry skills and extreme attention to detail have been put to good use and we have become very friendly with the lumber and paint staff at our local Home Depot... a big shout out to all the experts who have answered our questions so nicely and patiently :-)
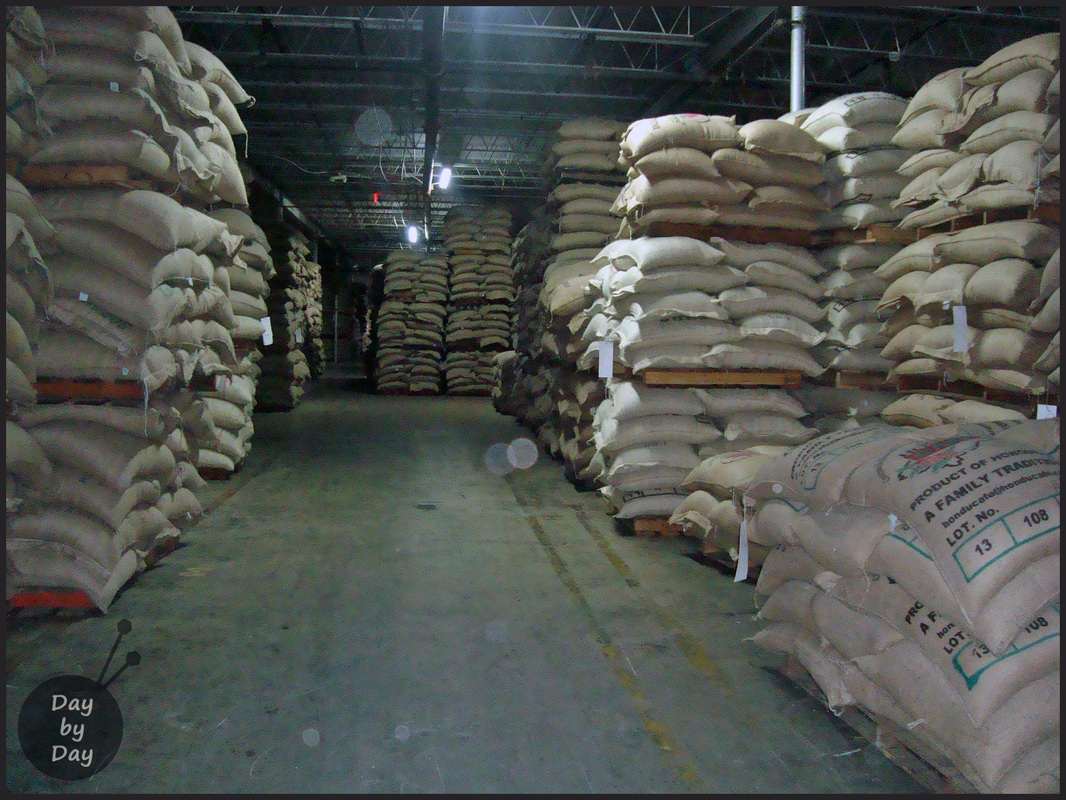
A few days ago we went to pick up his green coffee bean order at the warehouse you see in the photo above. I had never been in a coffee warehouse before, and it was absolutely incredible. From where I was standing when I took that shot there was another section behind me that was equal to or larger than the space you see in the photo. Stacks and stacks of green coffee from Honduras, Equador, Costa Rica, and Colombia.
Pure heaven!
Walking into that space was like wandering into a barn filled with drying hay--the green coffee beans give off a very earthy, green smell that is reminscent of a barn--in the best possible way. It was just incredible.
My husband is an artisanal coffee roaster, and we have been in a flurry of activity recently while getting his new warehouse/roasting space/shop space ready for opening. His mad carpentry skills and extreme attention to detail have been put to good use and we have become very friendly with the lumber and paint staff at our local Home Depot... a big shout out to all the experts who have answered our questions so nicely and patiently :-)
A few days ago we went to pick up his green coffee bean order at the warehouse you see in the photo above. I had never been in a coffee warehouse before, and it was absolutely incredible. From where I was standing when I took that shot there was another section behind me that was equal to or larger than the space you see in the photo. Stacks and stacks of green coffee from Honduras, Equador, Costa Rica, and Colombia.
Pure heaven!
Walking into that space was like wandering into a barn filled with drying hay--the green coffee beans give off a very earthy, green smell that is reminscent of a barn--in the best possible way. It was just incredible.

Mr J hard at work...
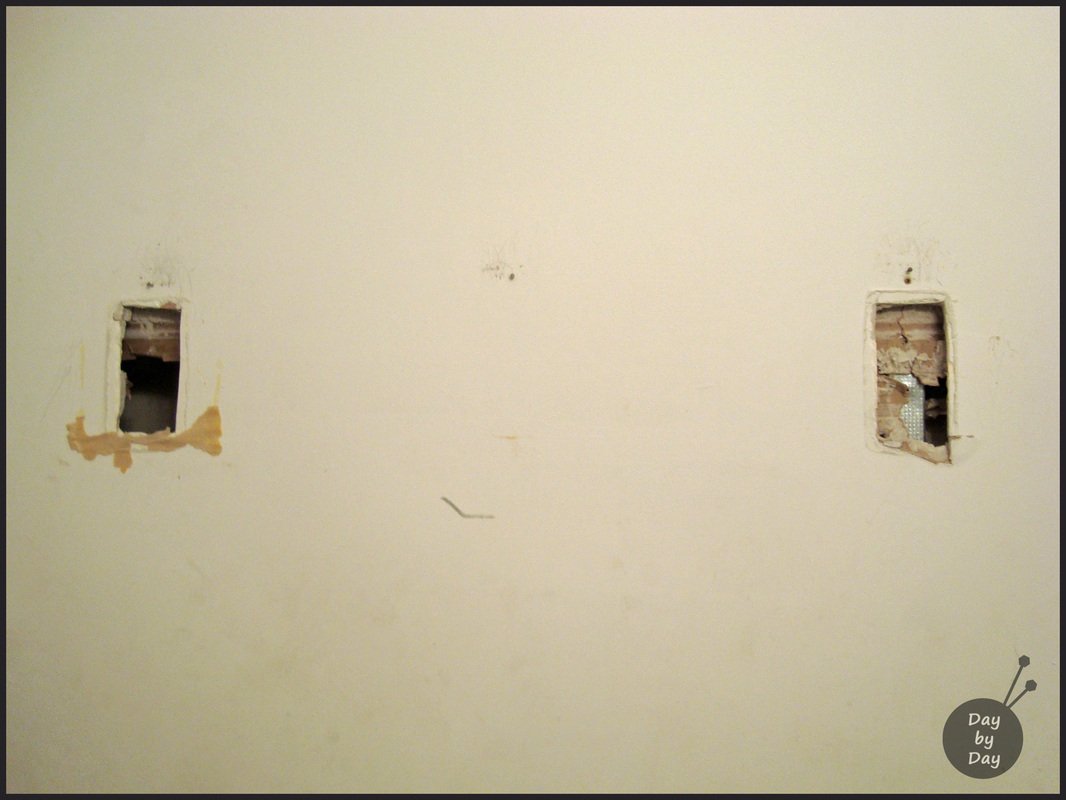
While my husband is busy building cabinets and a tasting table, I have put my quasi-carpentry skills to work and repaired two sections of drywall in the upstairs guest bathroom.
Exciting, non?
To clarify--there used to be a ceramic and perspex towel rail that was permanently attached into the drywall. At some point it was taken out of the wall (that was long before my time), and instead of repairing the drywall, several prints were hung strategically over the openings.
Men.
To clarify--there used to be a ceramic and perspex towel rail that was permanently attached into the drywall. At some point it was taken out of the wall (that was long before my time), and instead of repairing the drywall, several prints were hung strategically over the openings.
Men.

I recently decided to paint and do a bit of reno in the bathroom, and did the repair myself.
It's really not hard--measure the openings to see how big a piece of drywall you need, then cut the piece you're going to be inserting as the patch. Put it up to the wall and trace the shape onto the wall so you can cut away the wall and the patch will fit perfectly.
Here I have to apologize as I completely forgot to take photos as I worked along on the repair... oops.
Take a piece of scrap wood (it came in handy that Mr J was doing a lot of woodwork at the warehouse while I was doing this repair) and ease it into the wall behind the opening. Screw it into place above and below the opening. This will create a brace for the patch to rest against and a wooden surface to which you can screw the patch.
Once the patch piece of drywall is screwed into place, gently sand around the seam to remove any rough spots. Use drywall compound (you can get a little pot of it for repairs) and essentially 'crack-fill' the space where the patch and the wall join. Be liberal and try to smooth it out as well as you can, but keep in mind that you will have to allow 24 hours between applications for the drywall compound to fully dry.
Once it is dry, gently sand to smooth everything out, and if it needs a bit more compound, keep applying, letting it set up for 24 hours, and sanding it until you have the desired smoothness. I ended up doing this three times to make sure it was going to be invisible. Taking the extra time really was worth the end result.
Once it is ready and painted, it should 'disappear' into the wall and you'll never know there was a repair!
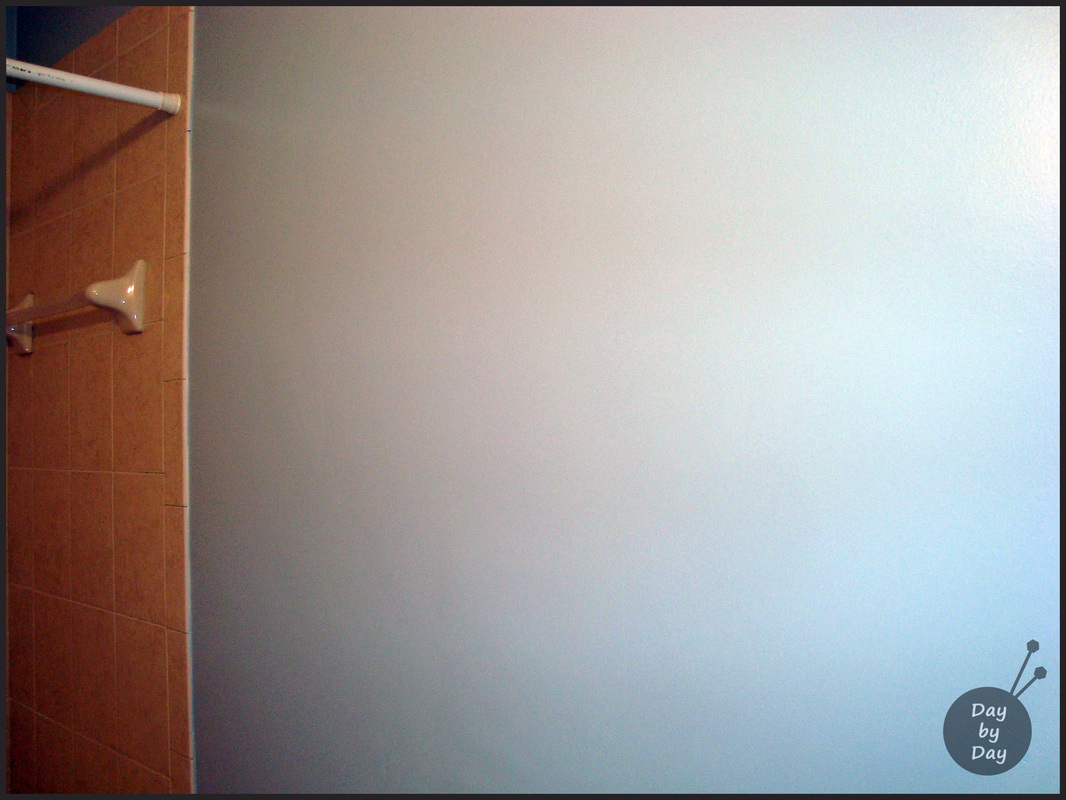
The finished result! Smooth, beautiful wall :-)
I'm so pleased with the end result--the wall is beautiful and smooth, and you would never know there had been a repair! Success! Apologies for the weird lighting in the above photo--the wall color is the most beautiful grayish-blue from Behr called 'soft denim', but it doesn't read well in the photo. It reminds me of a winter day at the seaside, and I can't wait to see how it looks when the room is all finished.
I've now moved on to the ceiling and trim, and have the wood to build a display shelf that is going up on that wall. I'll share the finished result when it's ready... eventually.
If anyone is interested, here is a great Build dot Com video tutorial--the only difference in their method and mine is that I didn't use tape, and I used premixed drywall compound. I didn't watch a tutorial before I did my repair--I kind of wish I had, and I would have known to use the quick-set joint compound. Oh well, I'll know for next time! There's another one of those towel rails in the downstairs bathroom that I want to eliminate!
I'm working on another little project and will have something much prettier to share soon... I promise!
How is everyone's week going? What are you working on at the moment?

 RSS Feed