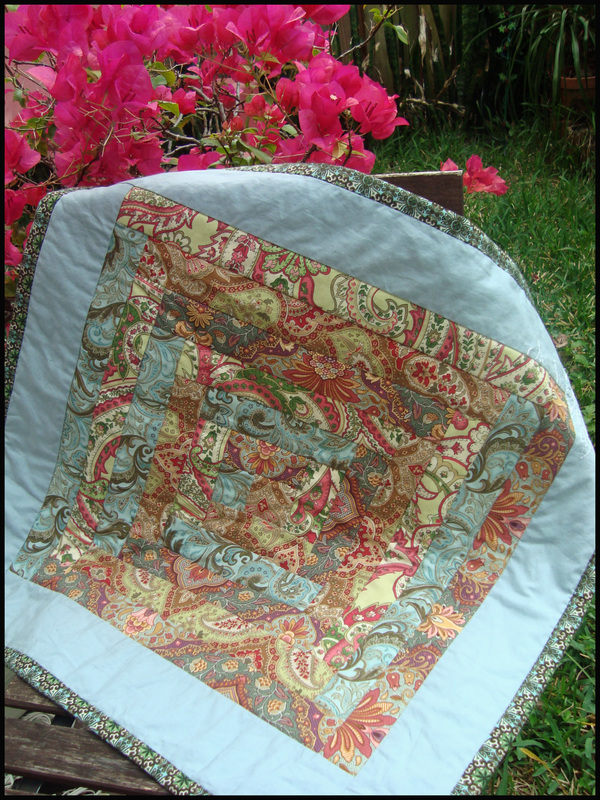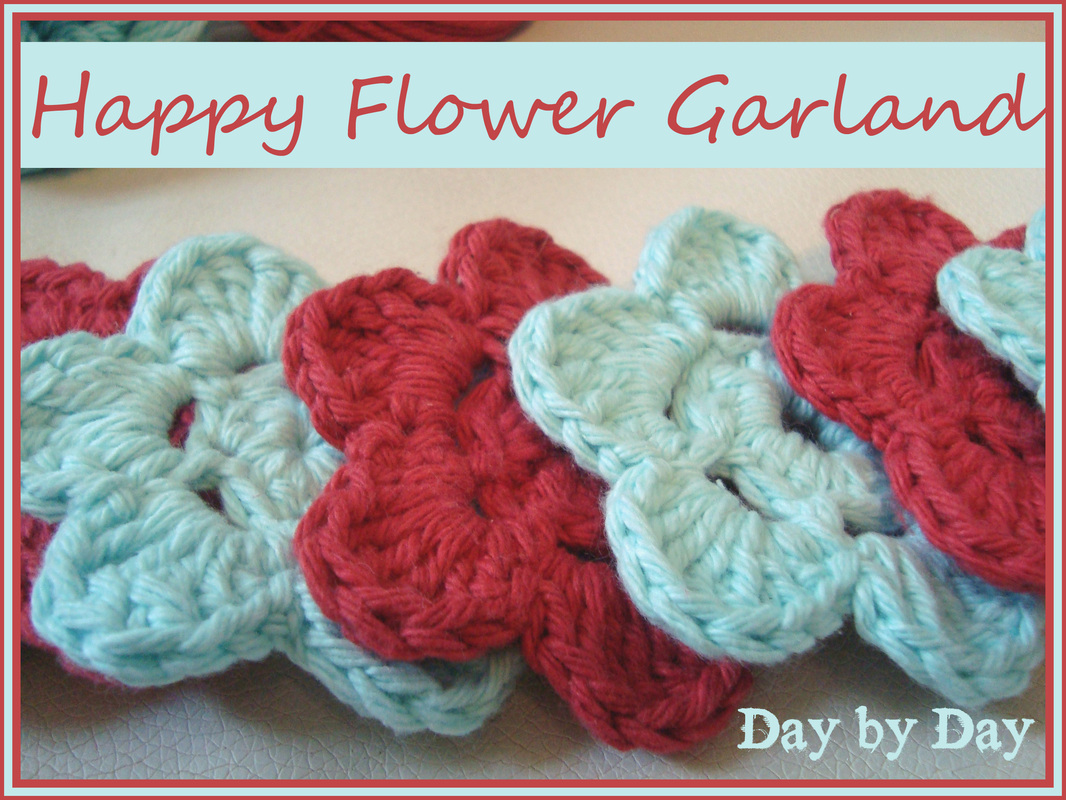
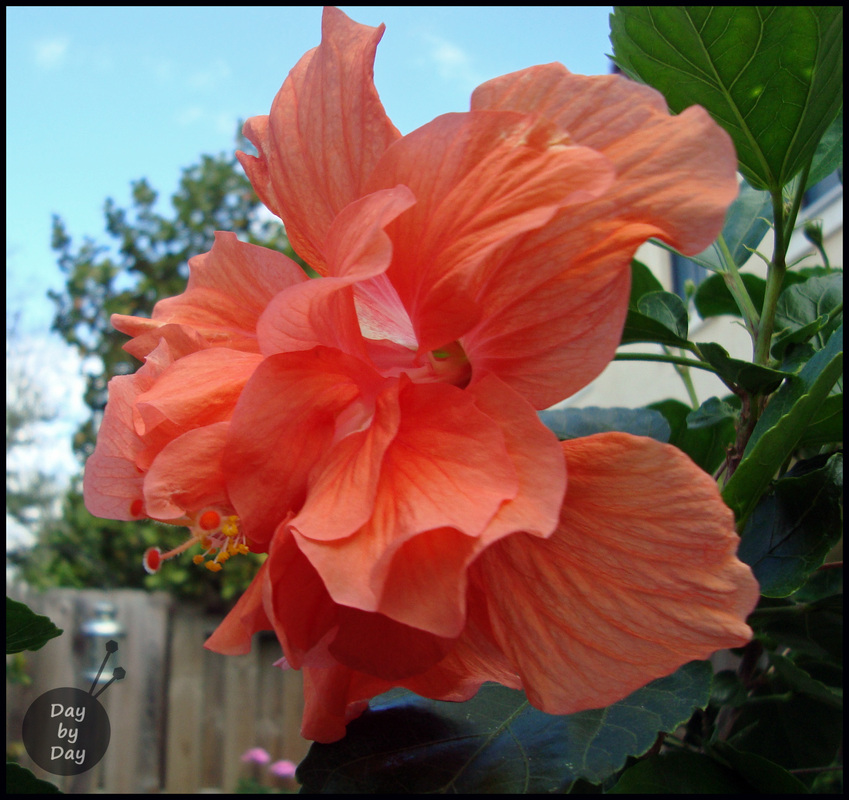
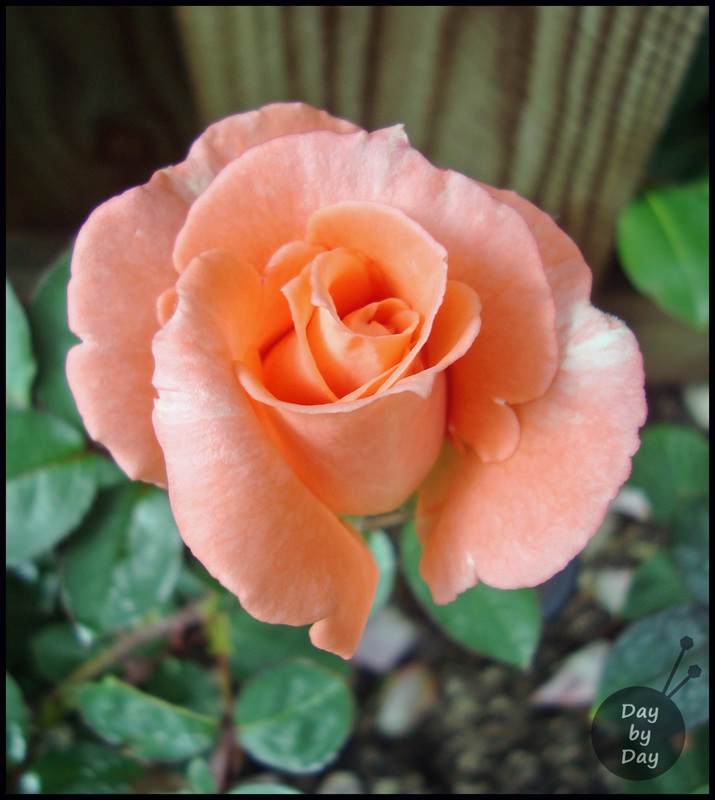
There's nothing like colorful flowers to brighten your day--each morning as I stumble downstairs to the kitchen in desperate search of coffee, I always throw open the big curtains to expose the tall windows lining the whole back of our house. Our garden lies just beyond those windows, abloom in glorious color even during the winter months. Yay, Florida!

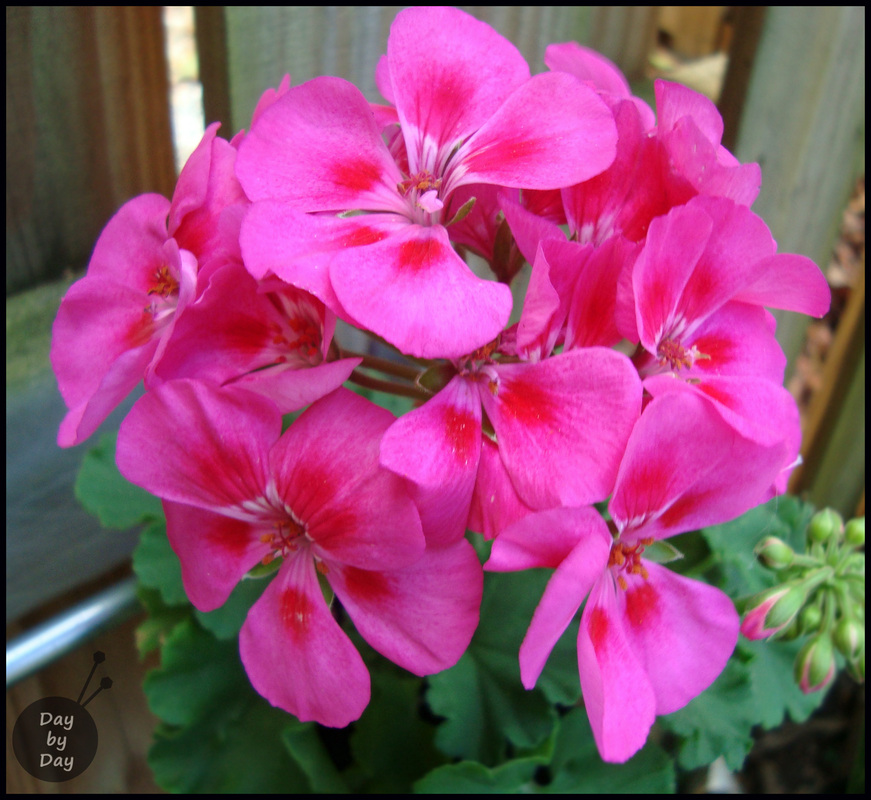
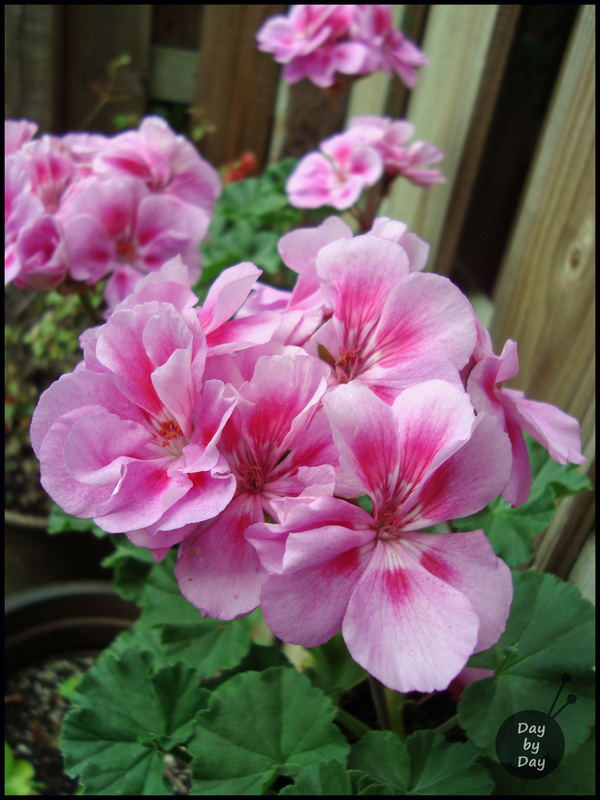
A few more happy pink flowers are going into planters today, and they are in good company with the established players...
 |  |
 |  |
I absolutely love flowers... when they are alive and growing outside. I have issues with cut flowers in vases inside the house--unfortunately my allergies don't allow me the luxury of indoor bouquets very often.
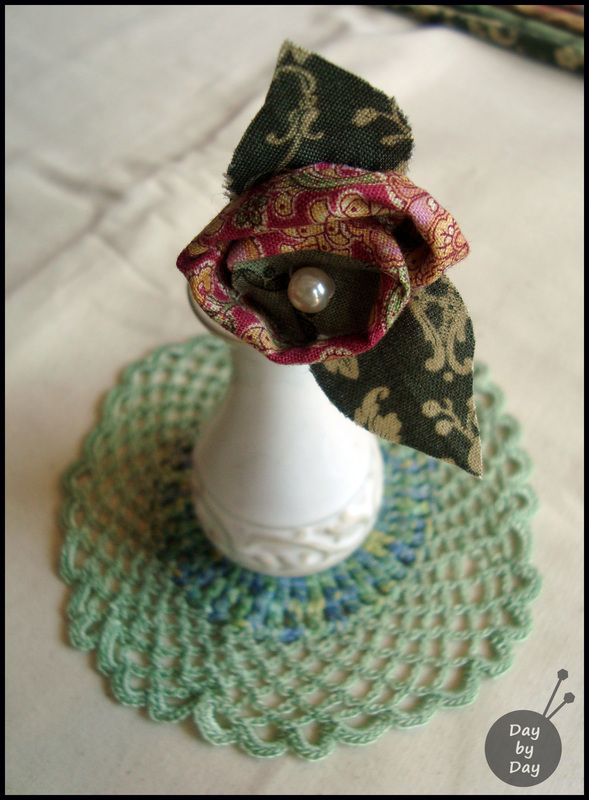
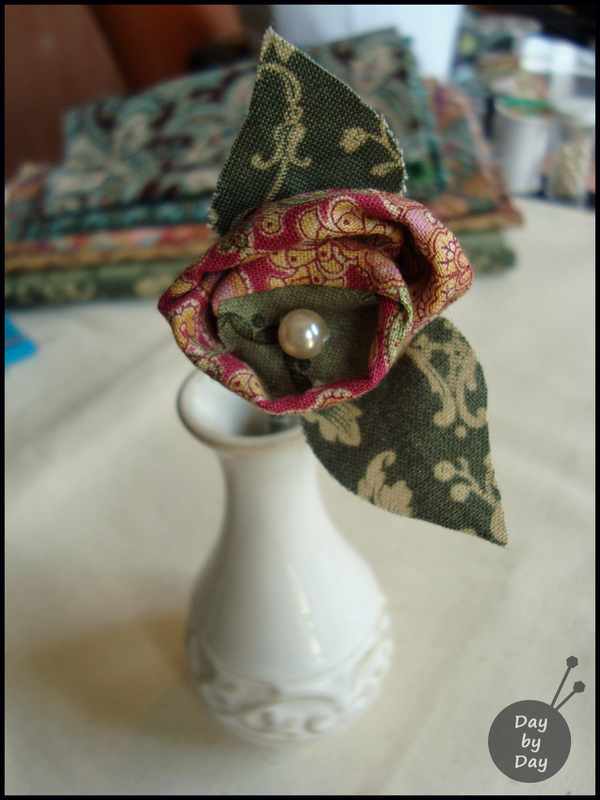
Sad, because I found the most adorable little vase recently...
Sad, because I found the most adorable little vase recently...
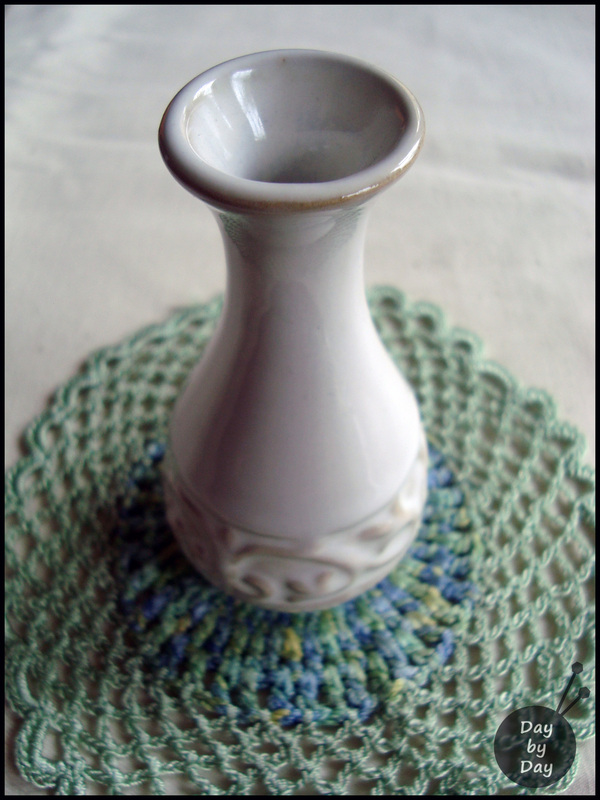
The little crocheted doilie it rests on is one of my absolute favorites--I found it at a charity shop in Edinburgh. The thrift shops in the UK are amazing--I miss them so much! I always found such interesting items--and a lot of crafting supplies and books as well. Oh to spend the afternoon in Morningside browsing... sigh.
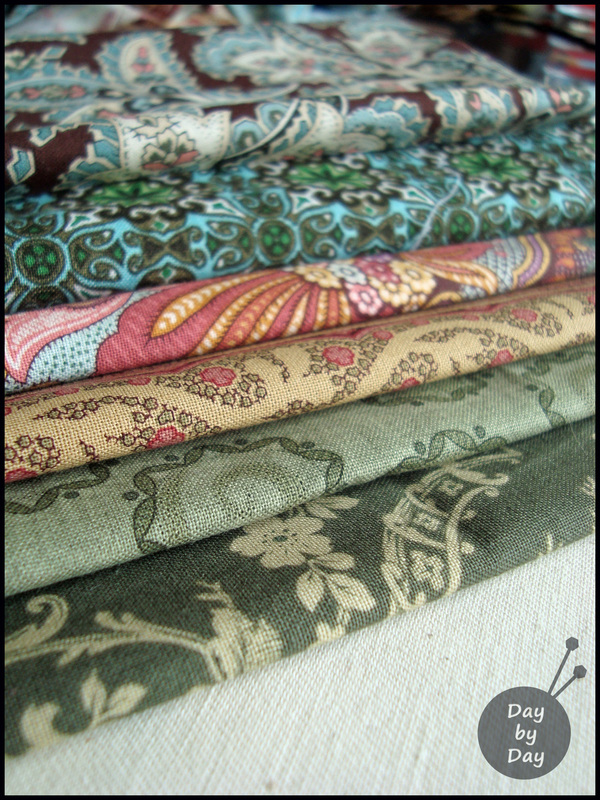
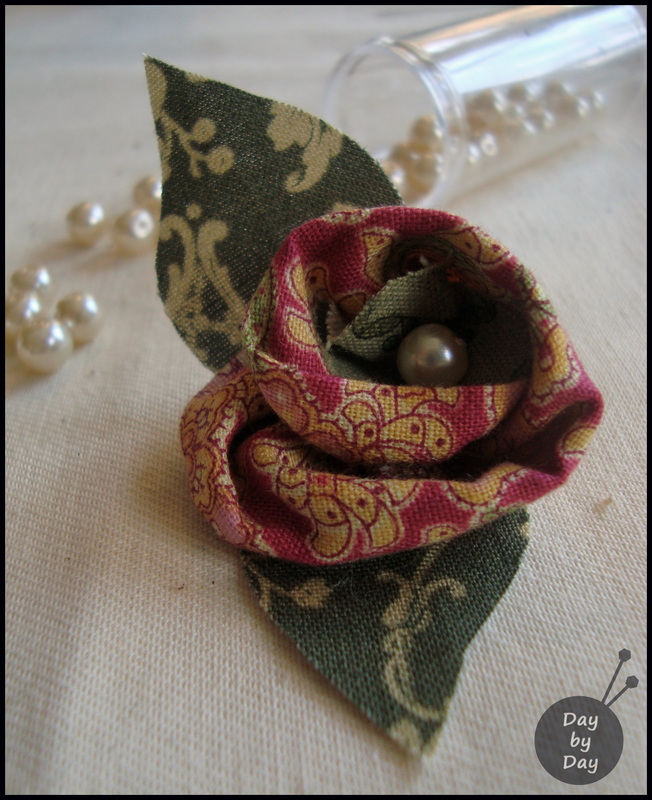
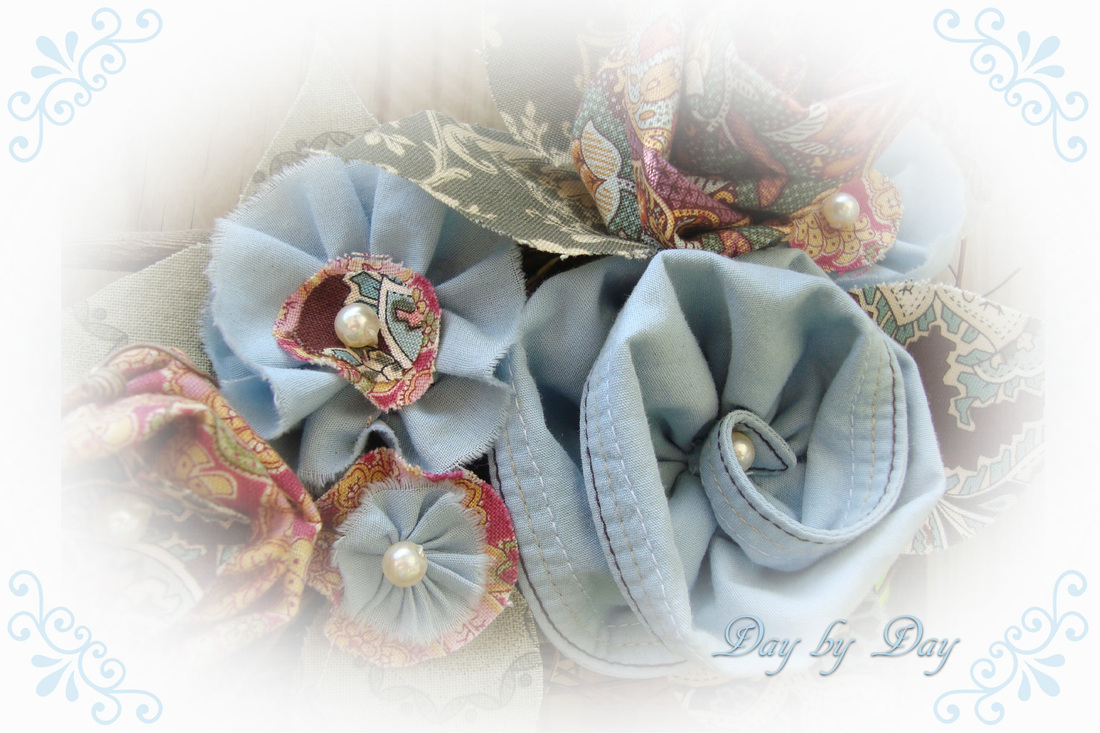
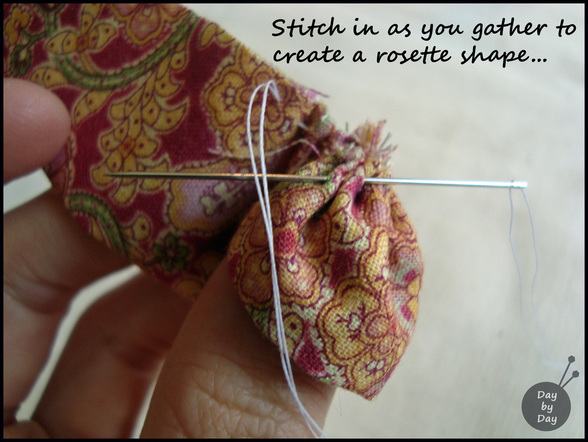
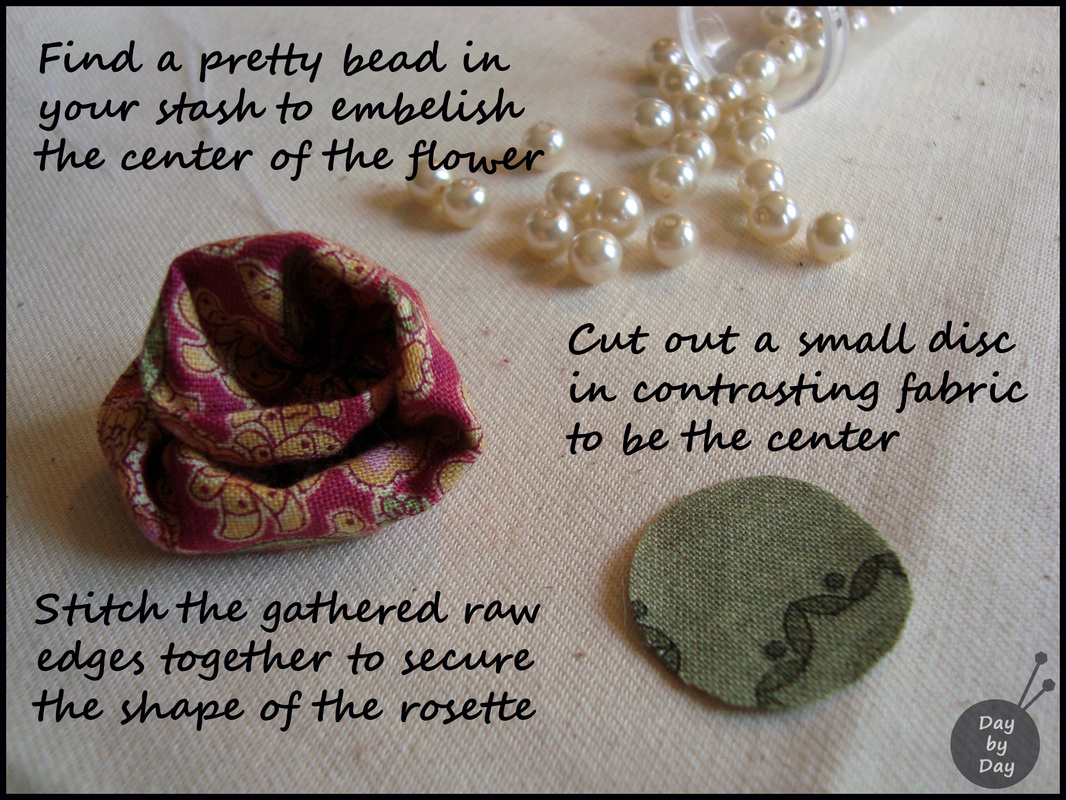
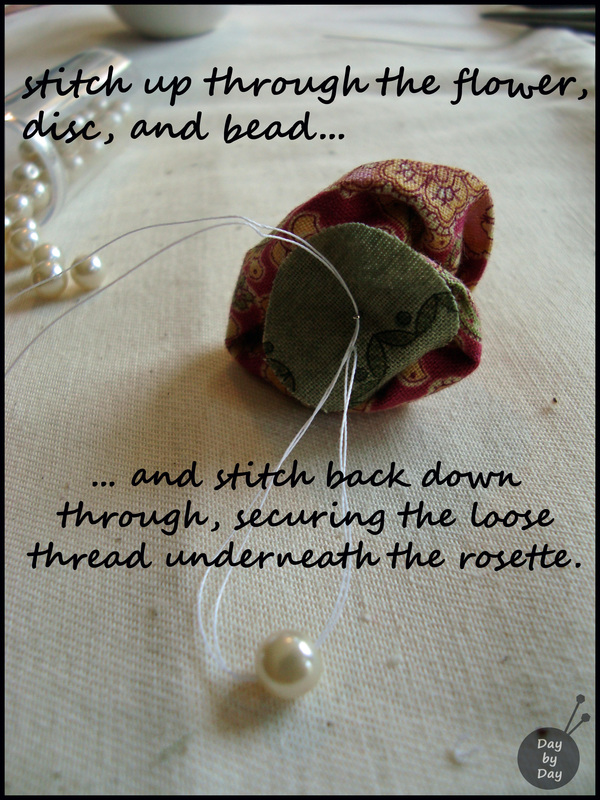
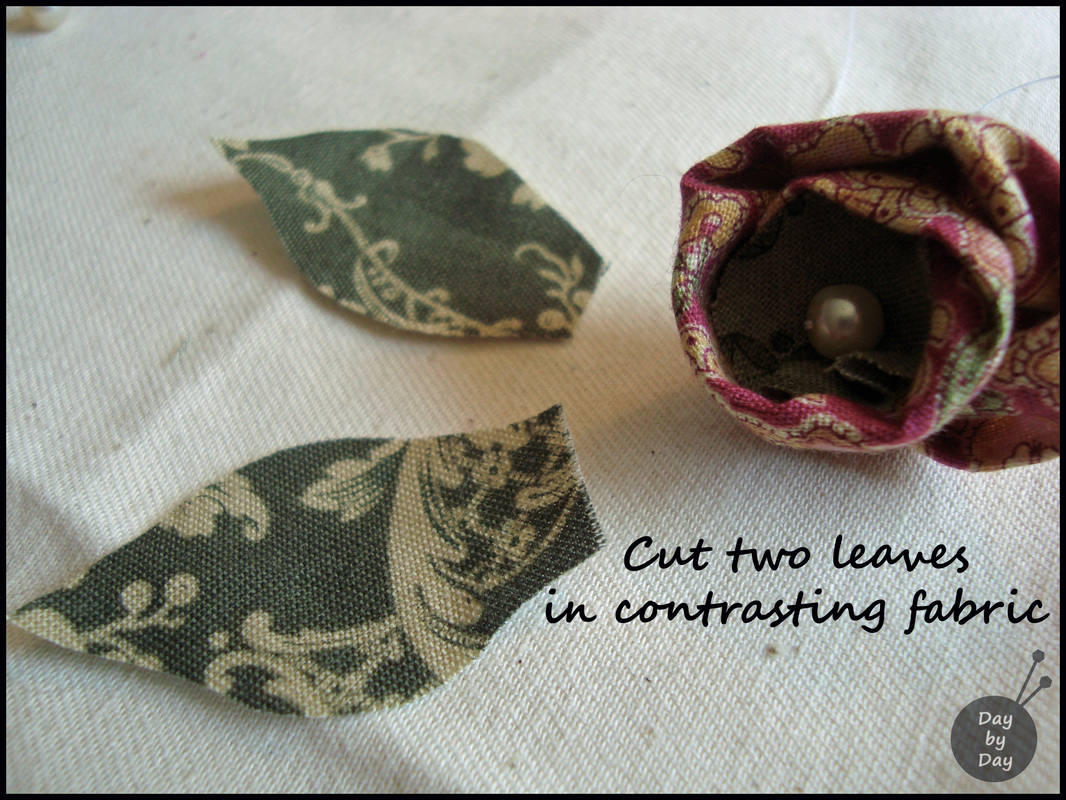
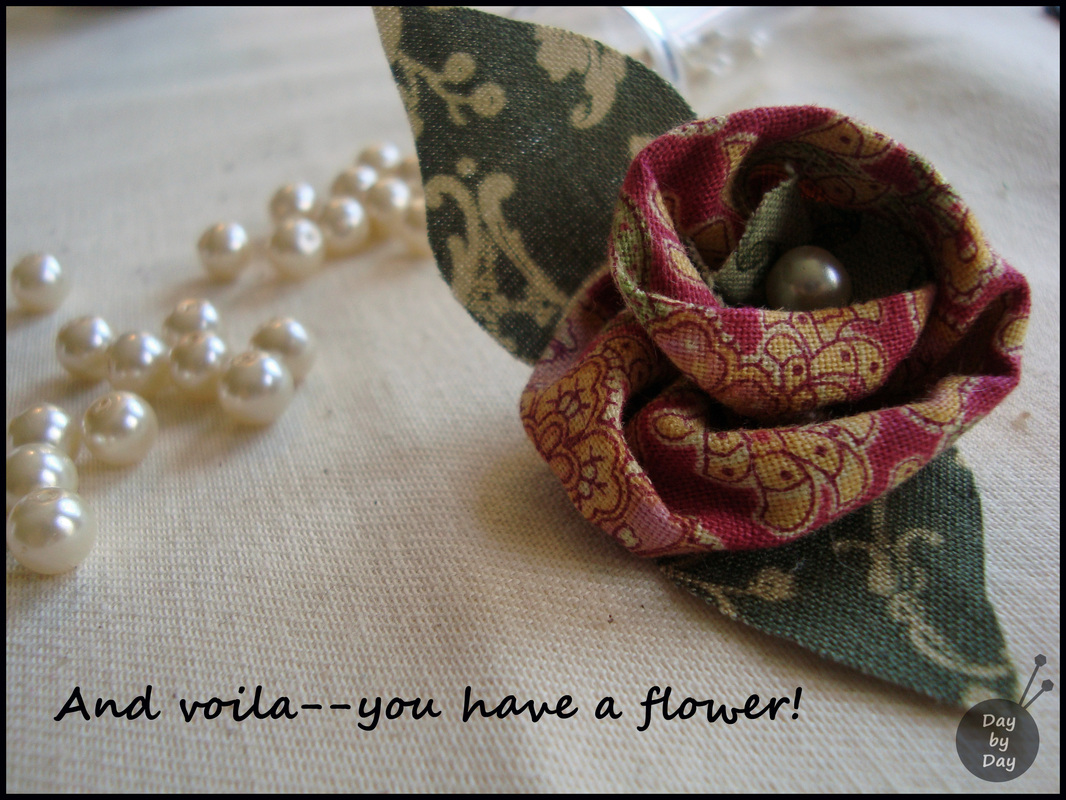
I decided that a fabric flower would be perfect for the vase, and went to my scrap fabric stash. This little project takes more patience than materials, and you just need a few scraps of fabric, a bead (I used a pearl), a scrap of felt, and a piece of floral wire (I confess that I pilfered one from a dollar store flower I had kicking around in my craft room).
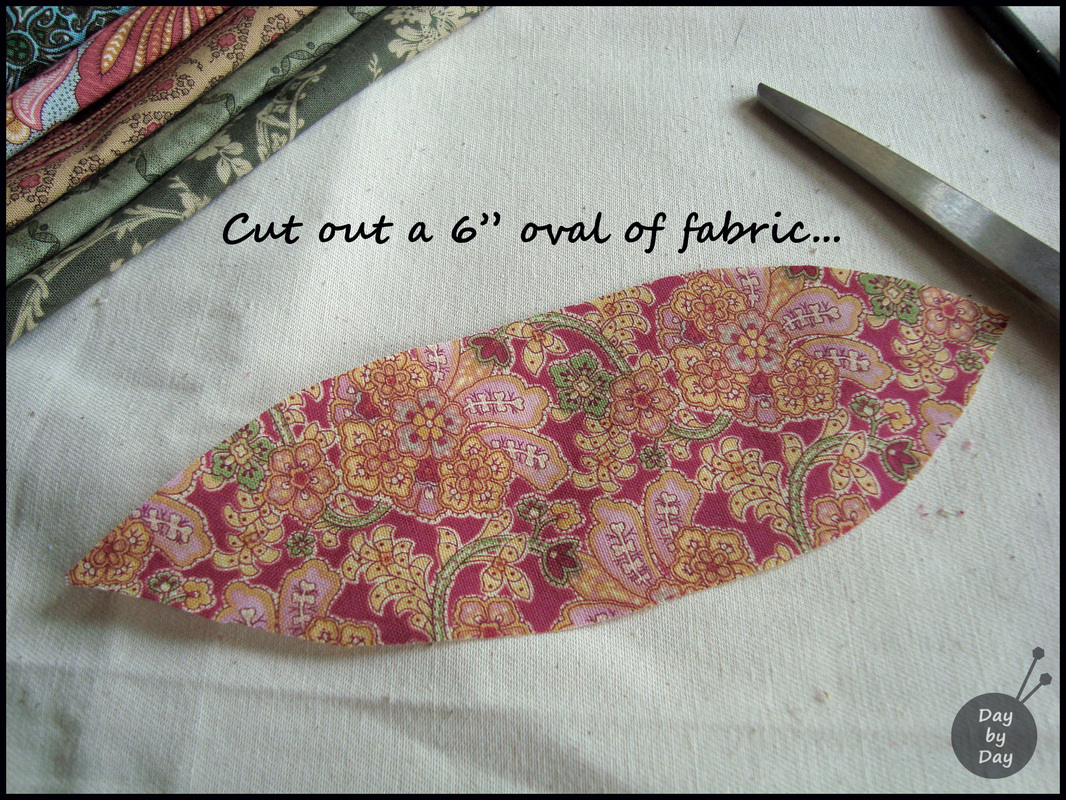
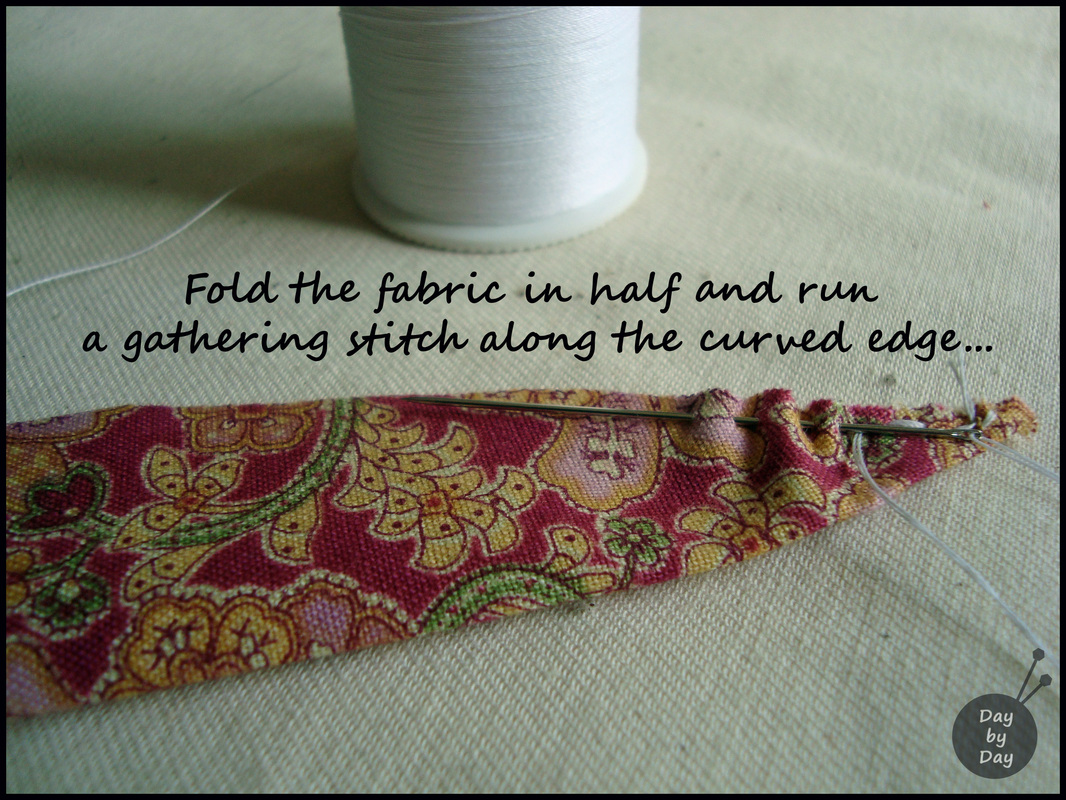
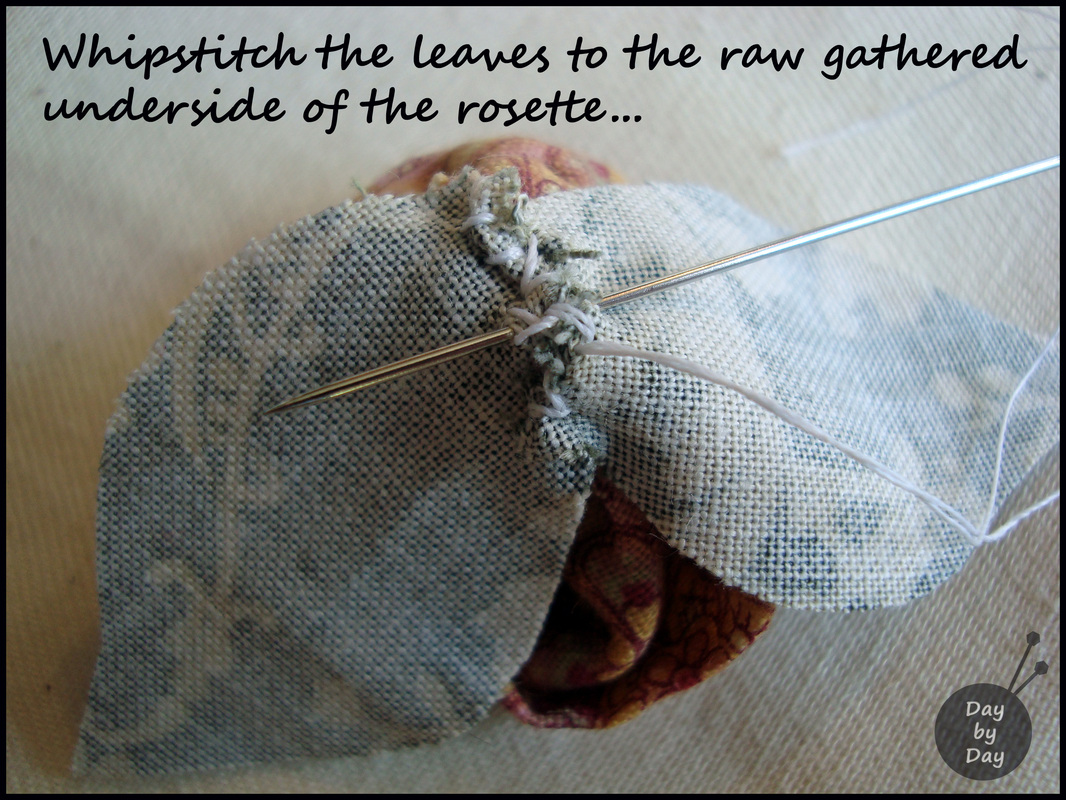
Here's how to make a cute little patchwork flower to brighten your day:
Here's how to make a cute little patchwork flower to brighten your day:
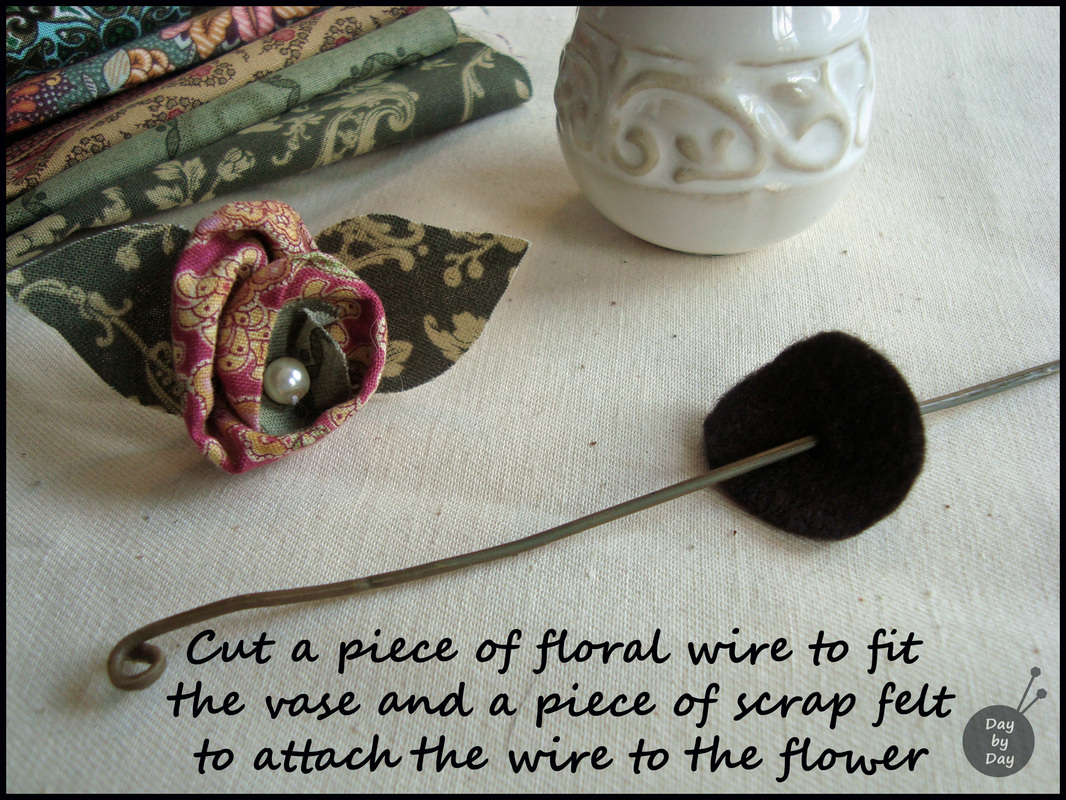
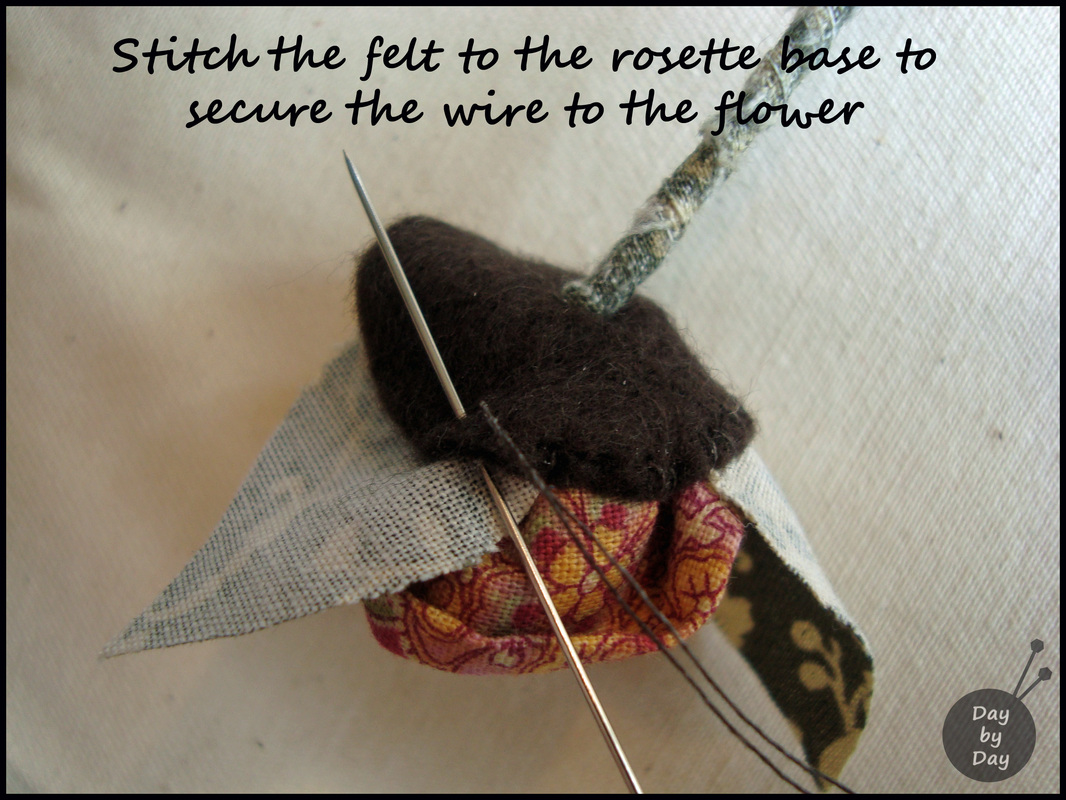
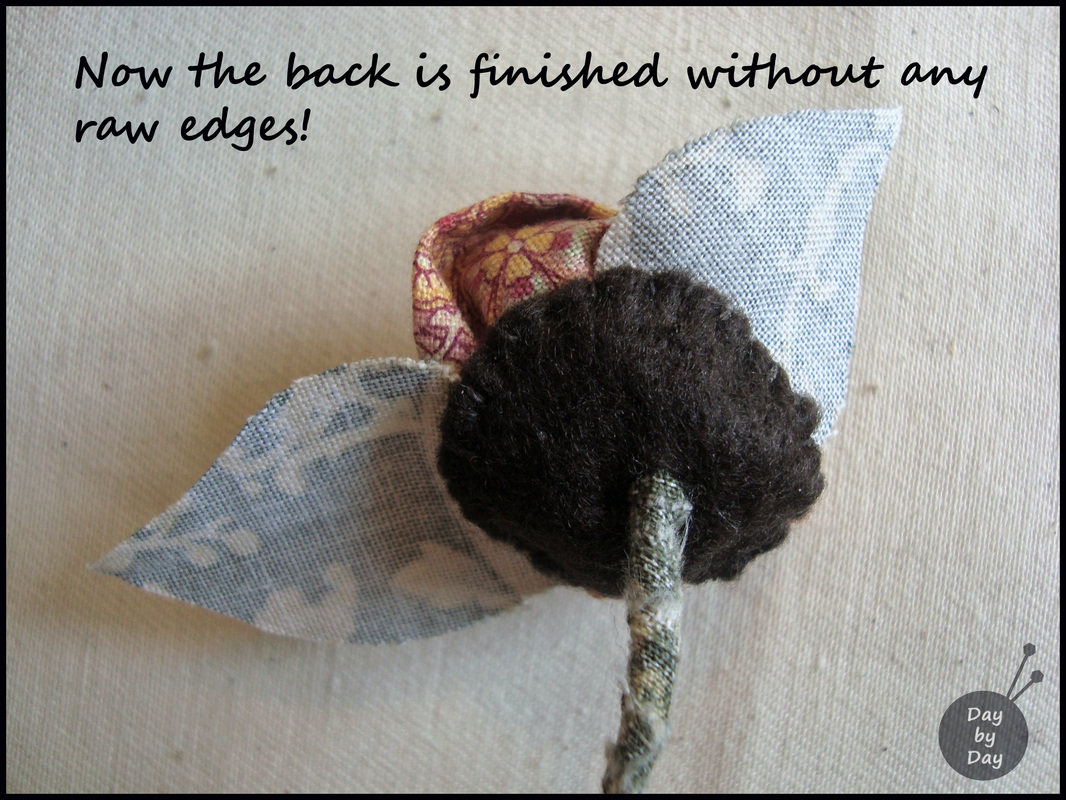
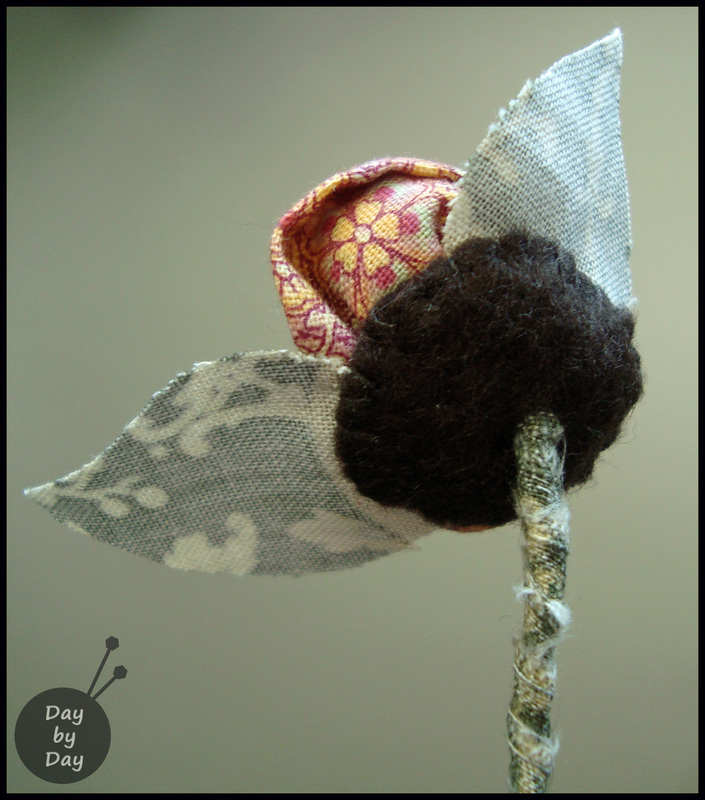
Here I should point out that the disc of felt is large enough so that it will cover the raw edges underneath your flower. Cut it out and poke a hole in the center of the felt using the floral wire. Doing this will make it easy to insert the fabric-wrapped wire through the felt after the next step.
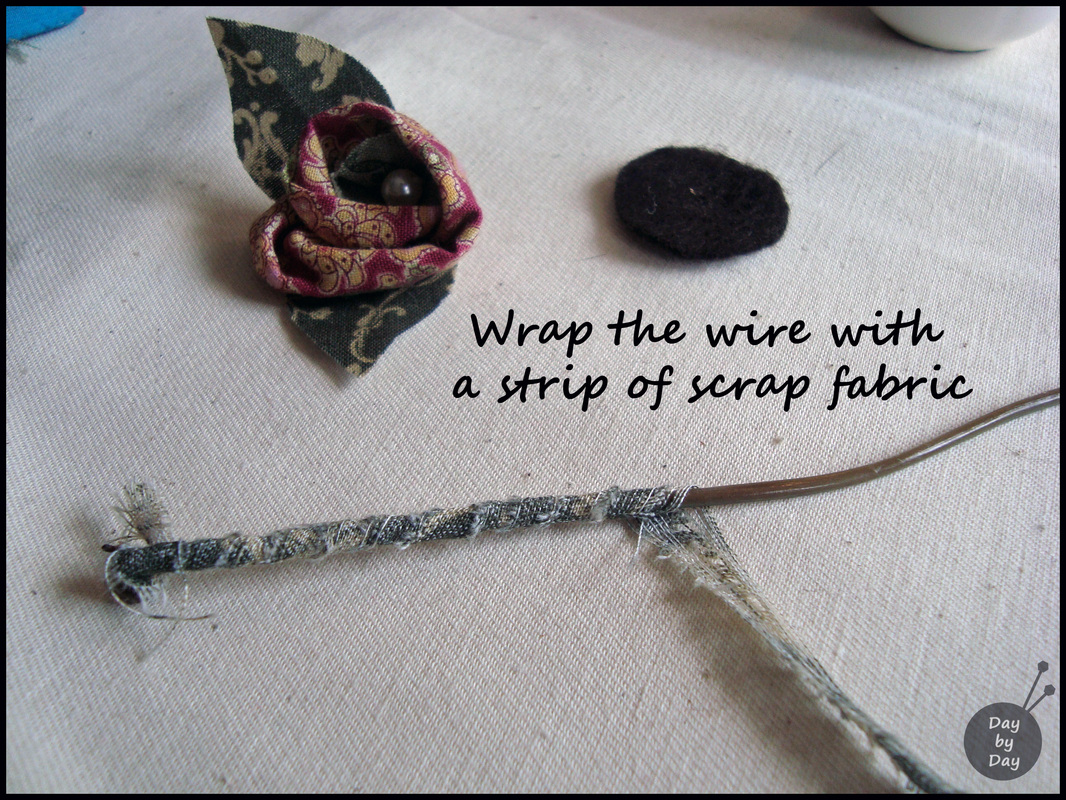
You can secure the ends of the scrap fabric with a dab of hot glue.
Make a twist at one end of the wire to stop it from going through the felt disc.
Carefully insert the fabric-wrapped wire into the hole in the felt disc and ease it through until you can hold the end of the fabric against the wire so it will not slide along as you pull the felt disc toward the end of the wire with the twist. This will be the flower end.
What a great way to use up tiny little scraps of favorite fabrics! I think I'll make a few more and have a lovely little patchwork bouquet...
The best part? No need for Allegra!

I'm away to stitch a whole bouquet... happy Friday, everyone!
Flowers... are a proud assertion that
a ray of beauty outvalues all the utilities of the world.
Ralph Waldo Emerson
a ray of beauty outvalues all the utilities of the world.
Ralph Waldo Emerson
Sharing with:
Feathered Nest Friday
Link Up With Me, Liz Marie
Frugal Friday at The Shabby Nest
Shine On Fridays
Simple and Sweet Fridays
Sweet Saturday Link Party
Your Great Idea
Sundae Scoop
Sunny Simple Sunday
Made by You Monday
Monday Funday
Make the Scene Monday
You're Gonna Love It
We Did It Wednesday
The Weekly Creative
Whatever Goes Wednesday
Share Your Cup Thursday
A Crafty Soiree
Show Off Your Stuff Party
It's a Party
Wow Me Wednesday

 RSS Feed